System Requirements
- A package manager of your choice
Setting Up Your Mailblock Account
Step 1: Create Your Account
Sign up for a Mailblock account to get started with our email service: 👉 Sign Up for MailblockStep 2: Configure Your Email Server
To send emails, you need an Email Server. Mailblock offers two convenient options:Option A: Use Your Email Server - More!
- Add your own domain and point it to your mail server
- Configure DNS records (SPF, DKIM, DMARC) for authentication
- Benefits: Use your branded domain, full control
- Setup time: 15–30 minutes + DNS propagation
Option B: Use a Mailblock Server ⭐ Coming Soon!!
- Get a pre-configured Mailblock server with a warmed-up sending domain
- Ready to use immediately with high deliverability rates
- No DNS setup required — Mailblock handles everything
- Benefits: Instant setup, no technical hassle
- Setup time: 2–3 minutes
Step 3: Generate Your API Key
Once your domain is configured and verified:1. Navigate to API Keys
In your Mailblock dashboard, go to the API Keys section:
2. Create Your API Key
Click “Create New API Key” and give it a descriptive name (e.g., “Production API”, “Development Key”):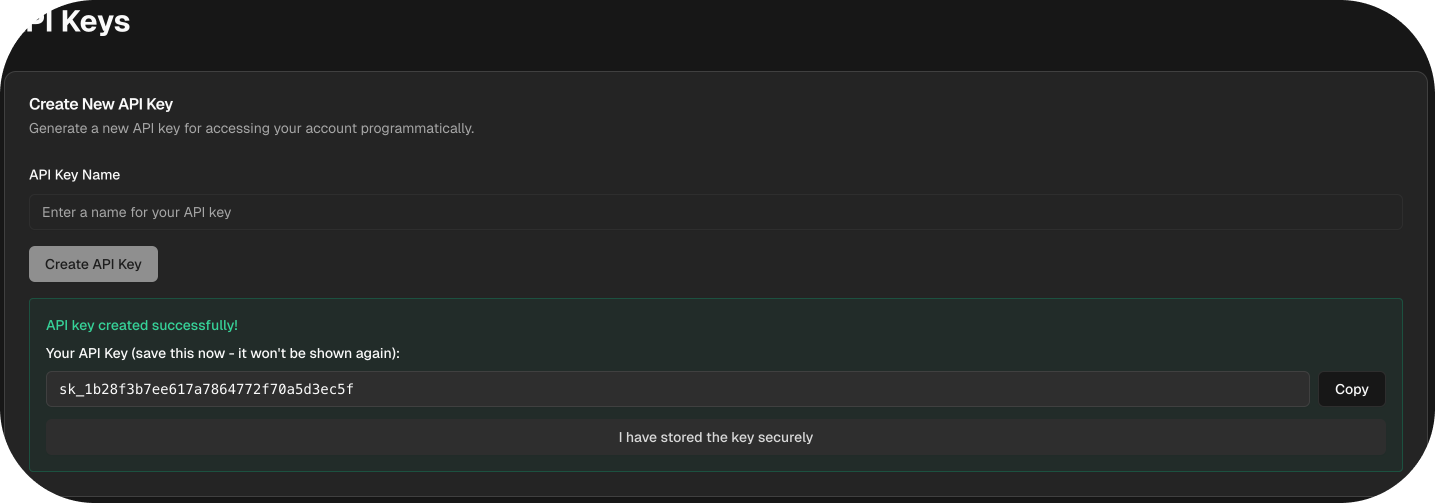
3. Store Your API Key Securely
⚠️ Important Security Notes:- Copy your API key immediately - it won’t be shown again
- Store it in a secure location (password manager, environment variables)
- Never commit API keys to version control (git repositories)
- Use environment variables for production applications
- Regenerate keys if you suspect they’ve been compromised
Step 4: Verify Your Setup
Before proceeding with the SDK, it’s important to verify that everything is configured correctly:Use the Verify Domain Button
Click the “Verify Domain” button in your dashboard to check if all settings are properly configured: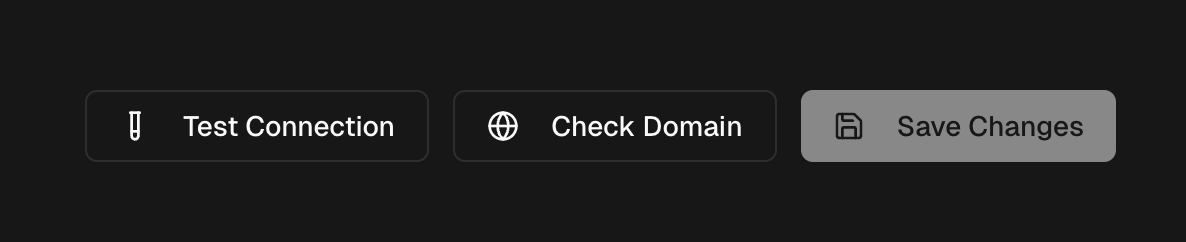
✅ DNS Records: All authentication records should be “Active”
✅ DKIM Configuration: Proper email signing setup
✅ SPF Record: Sender authentication configured
✅ DMARC Policy: Email security policy in place
✅ API Key: Successfully created and stored securely
✅ Sending Limits: Check your current sending quota
Environment Setup Best Practices
For Development
Create a.env file in your project root:
For Production
Set environment variables on your hosting platform:Troubleshooting Common Issues
”Domain not verified” Error
- Check DNS records - ensure all required records are added
- Wait for propagation - DNS changes can take up to 24 hours
- Contact support if verification fails after 24 hours
”Invalid API key” Error
- Double-check the key - ensure no extra spaces or characters
- Verify key is active - check dashboard for key status
- Regenerate if needed - create a new key if the old one doesn’t work
”Sending quota exceeded” Error
- Check your limits in the dashboard
- Upgrade your plan if you need higher limits
- Wait for quota reset (usually monthly)